-
See the Archives
- April 2015
- March 2015
- October 2014
- July 2014
- June 2014
- May 2014
- April 2014
- March 2014
- February 2014
- January 2014
- December 2013
- November 2013
- October 2013
- September 2013
- August 2013
- July 2013
- June 2013
- May 2013
- April 2013
- March 2013
- February 2013
- January 2013
- December 2012
- October 2012
- September 2012
- August 2012
- July 2012
- June 2012
- May 2012
- Filter by Category
Custom House Numbers
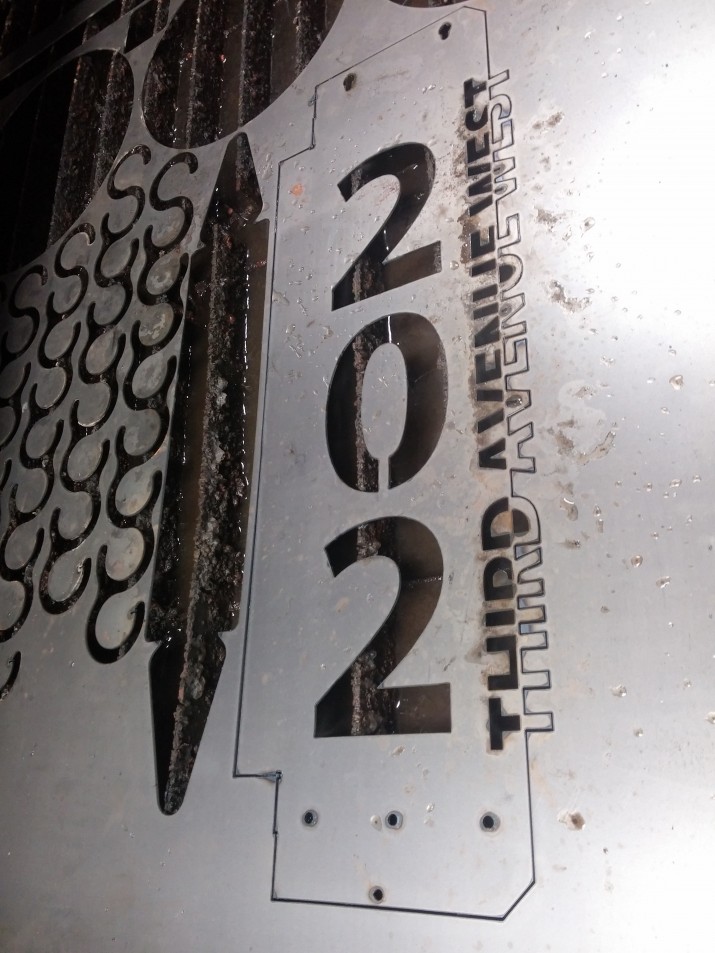
Sometimes we get really cool unique ideas from clients and other times we come up with something unique and our clients catch on and have to have one for themselves too. A typical house number sign has the house # and that’s it, and we’ve made plenty of them! However adding the street name without making things look too busy or forced, took a bit of creativity. This is an idea that we’ve come up with and believe us we’ve looked at hundreds upon hundreds of different house number styles out there. There’s nothing like this out there, till now. The text plays on the use of positive and negative space and just has a really unique look to it.
Here is the first house sign cut on the CNC table with this style, 14ga cold rolled steel. Nothing fancy, just something that will be unique and stand out. The top holes are to hang the sign, the single bottom hole is for securing it to the wall, the hole is accessed via the bottom of the “2”. The three smaller holes are for drainage in case of any standing water, however looking back on it, they most likely won’t be needed.
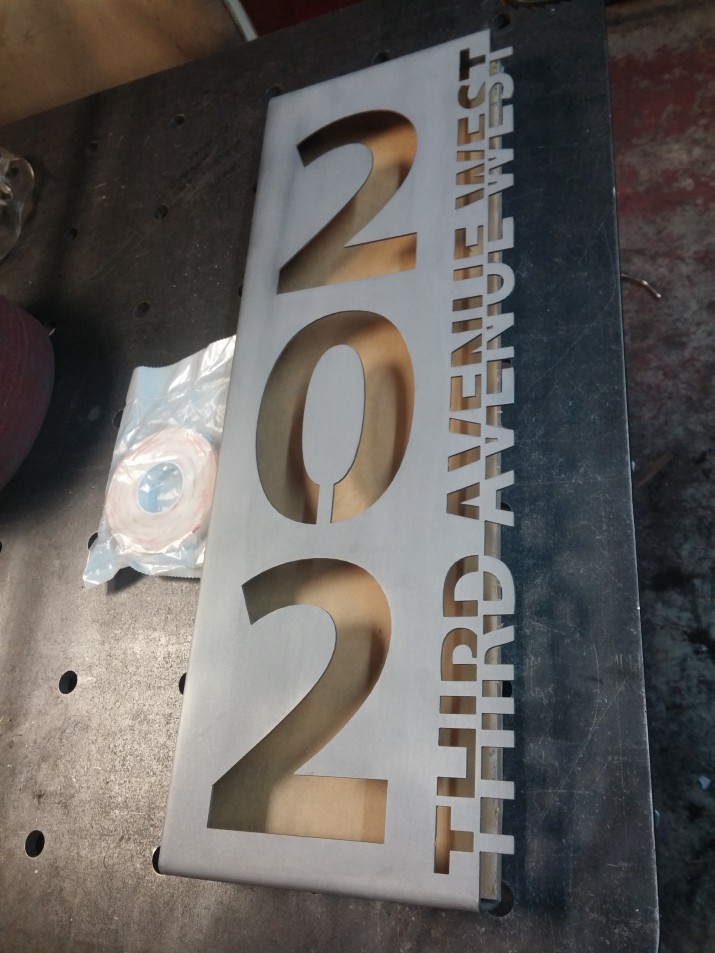
Here’s the sign after it’s been formed in the brake and media blasted (prepped for powder coat). The piece under it is a piece of acrylic (with protective paper still intact) that will be attached to the back of the sign with the use of some high strength 3M tape. Before the acrylic is attached there will be an RGB strip attached to the left side of the sign which will allow for the sign to be edge lit and give a really unique look. The RGB LED’s will be tied to an Arduino and ultimately tied into a home automation system. Imagine the house numbers lighting up as the sun is going down, or dimming down as the sun comes up. Or flashing repeatedly if the alarm system is going off? That’ll sure get some attention! The sign hasn’t been completed yet because…
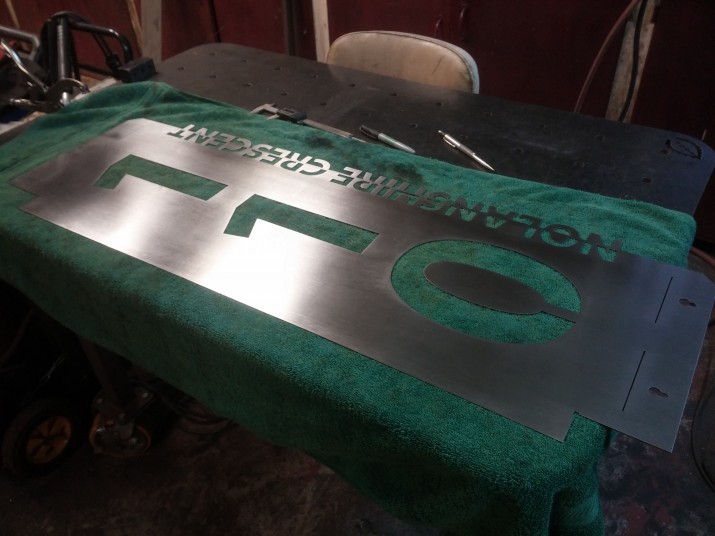
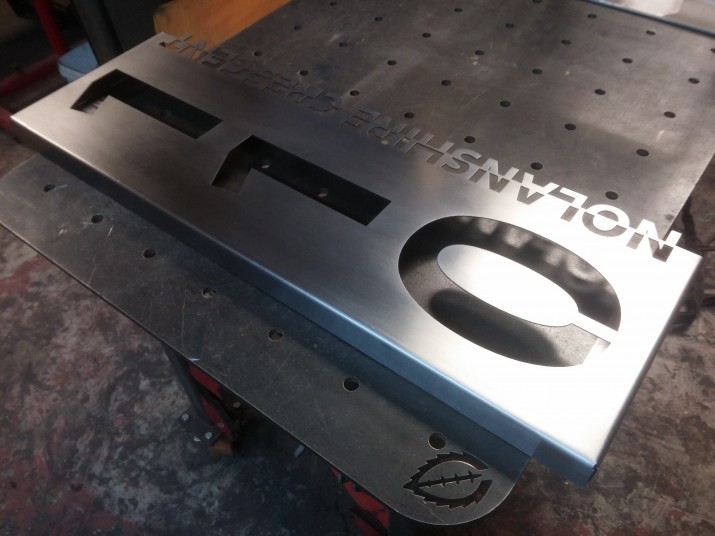
We started another one for a client, this one is considerably bigger and has a bit of a different style to it. It has the unnecessary drain holes omitted, the hanger and mounting screw had to swap ends due to the “0” not allowing a screw to attach it to the wall like the original sign.
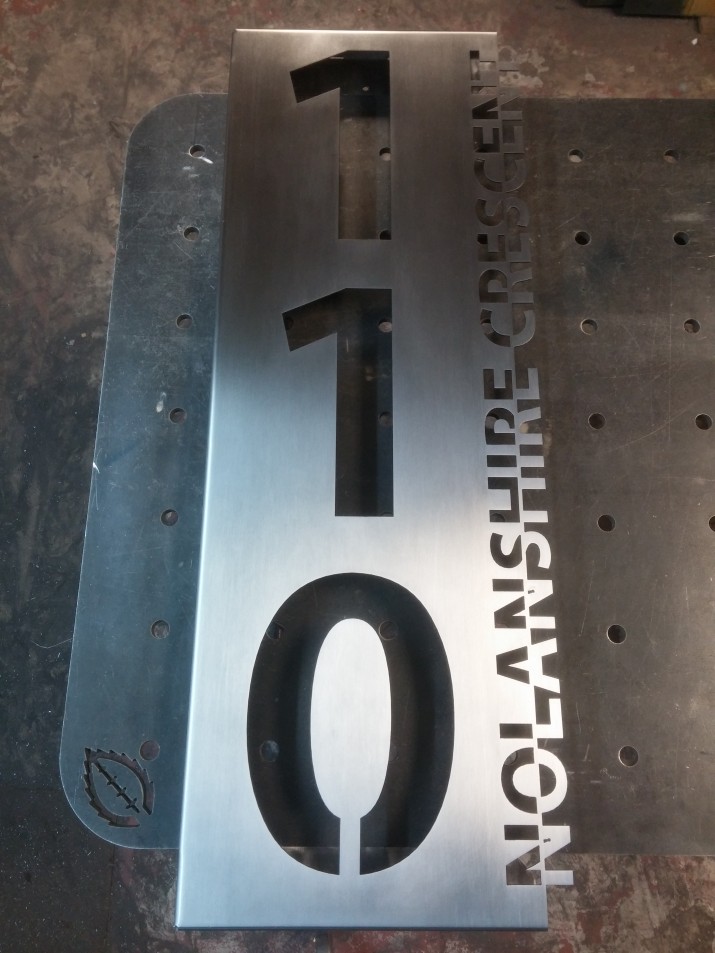
The finish of this part was a bit more time consuming as it is too big for us to powder coat and regular paint would be a bit bland. So instead it has a brushed finish with the help of a belt sander, inline sander with 80-120 grit and the use of a medium grit Scotchbrite pad.
After prepping the steel it was clear coated and given time to dry. Then it was waxed with a high quality carnauba wax and is ready for the customer to pick up and install!
Here’s a time lapse of the metalwork fab portion of this project.
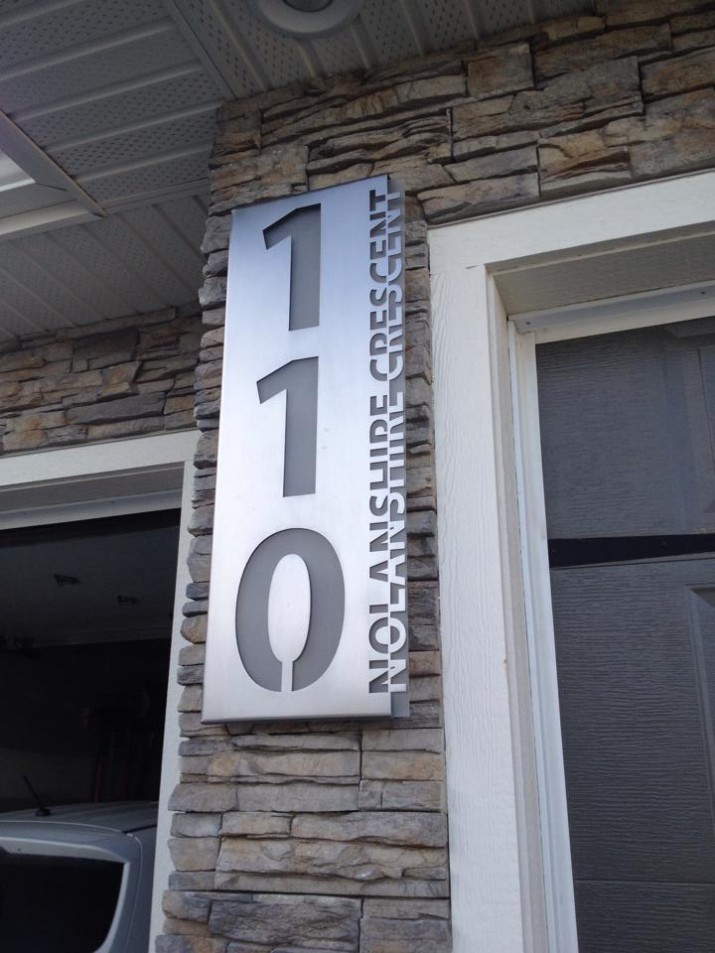
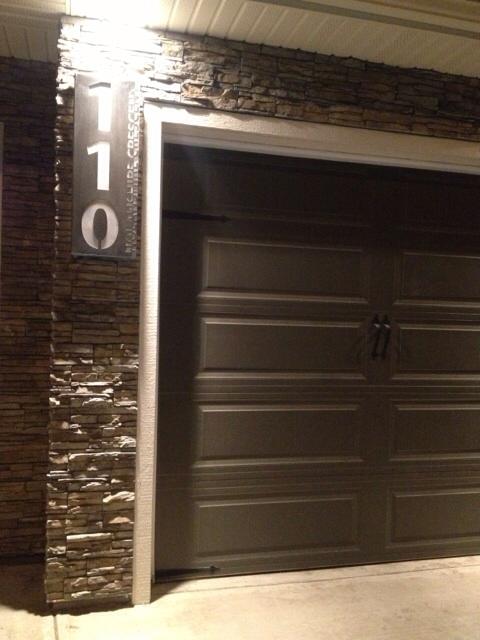
And here it installed (photo courtesy of Amanda H.).
Thanks for looking! Please take some time to look at our available services and if you have any questions don’t hesitate to contact us via our Contact page.
